Paint stripping is a crucial step in many renovation and restoration projects, whether you’re refinishing wooden furniture, preparing metal for a fresh coat of paint, or rejuvenating other surfaces.
Paint strippers can efficiently remove old paint, varnish, or finishes, but using them incorrectly can lead to damaged surfaces, health hazards, or incomplete results.
This comprehensive guide will walk you through the proper techniques, safety measures, and best practices for using paint strippers on metal, wood, and various surfaces.
Understanding Paint Strippers
Paint strippers are chemical or non-chemical agents designed to break down layers of paint or finishes for easy removal. They come in several forms, including:
- Solvent-Based Strippers: Effective on tough paints and finishes but often contain strong chemicals.
- Caustic Strippers: Use alkaline ingredients to soften paint, ideal for certain surfaces but can discolor wood.
- Eco-Friendly Strippers: Biodegradable options that are safer for the environment and less toxic.
- Heat-Activated Strippers: Require heating tools to soften paint layers, suitable for small or intricate areas.
Each type of stripper is suited to specific applications, so always read product labels to ensure compatibility with your surface and paint type.
Tools and Materials Needed
Before starting, gather the following tools and safety equipment:
- Paint stripper (appropriate for the surface)
- Paintbrush or applicator
- Putty knife or scraper
- Protective gloves and goggles
- Respirator or mask (for solvent-based strippers)
- Drop cloth or plastic sheeting
- Sandpaper or steel wool (for final touches)
- Bucket of water and clean rags (for cleanup)
Safety Tips for Using Paint Strippers
- Work in a Well-Ventilated Area
Many paint strippers release fumes that can be harmful when inhaled. Always work outdoors or in a well-ventilated space with open windows and fans. - Wear Protective Gear
Use chemical-resistant gloves, goggles, and a respirator if using solvent-based strippers. Avoid direct contact with the skin or eyes. - Protect Surrounding Areas
Lay down drop cloths or plastic sheeting to protect floors and nearby surfaces from spills or splatters. - Test in a Small Area
Before applying the stripper to the entire surface, test it in an inconspicuous area to ensure compatibility and effectiveness. - Avoid Open Flames
Many paint strippers are flammable, so keep them away from heat sources, open flames, or sparks.
Steps to Safely Use Paint Strippers
1. Prepare the Surface
Clean the surface thoroughly to remove dirt, grease, or loose debris. This ensures the stripper adheres evenly.
2. Apply the Paint Stripper
Use a paintbrush or applicator to apply the stripper generously over the painted surface. Follow the manufacturer’s instructions for thickness and application time.
Avoid rushing this step, as leaving the stripper to work for the recommended time will make paint removal easier.
3. Allow the Stripper to Work
The waiting time depends on the type of stripper and the number of paint layers. This can range from a few minutes to several hours. You’ll notice the paint bubbling or softening as the stripper works.
4. Remove the Paint
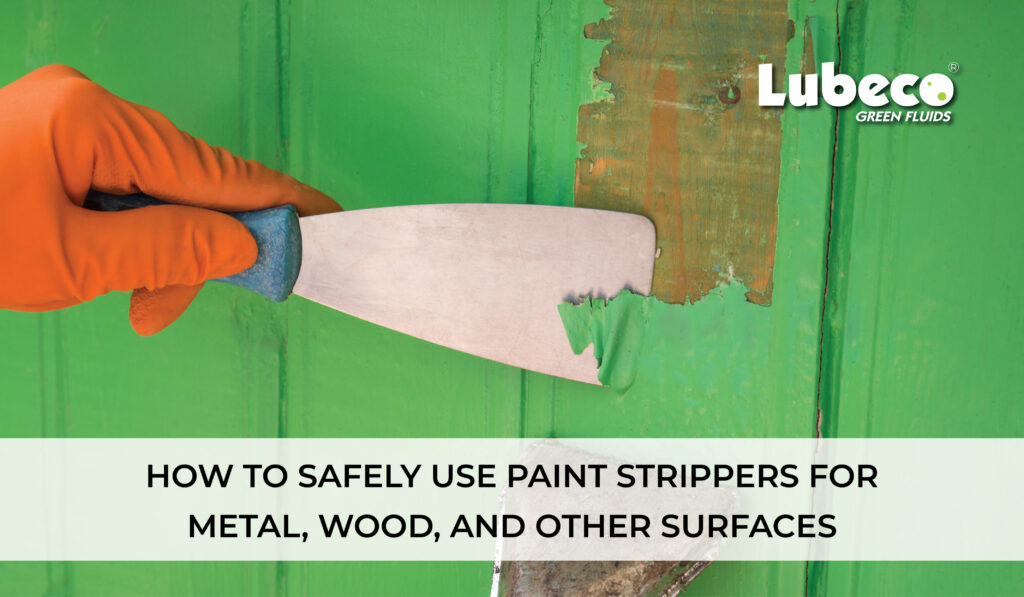
Use a putty knife, scraper, or steel wool to gently scrape off the loosened paint. Be careful not to gouge or damage the surface, especially with wood or delicate materials.
5. Repeat if Necessary
For stubborn or multiple layers of paint, you may need to reapply the stripper and repeat the process.
6. Clean the Surface
Once all paint is removed, clean the surface thoroughly with water, a neutralizing agent (if required), or a recommended cleaning solution. Allow the surface to dry completely before proceeding with sanding, staining, or repainting.
Tips for Specific Surfaces
For Metal Surfaces
- Use solvent-based strippers for durability and effectiveness.
- Avoid steel wool on soft metals like aluminum to prevent scratching.
For Wood Surfaces
- Choose a stripper that won’t discolor or damage the wood grain.
- Use a plastic scraper to avoid marring the wood.
For Masonry or Concrete
- Use heavy-duty strippers designed for porous surfaces.
- Scrub with a stiff brush after applying the stripper to remove paint trapped in crevices.
Common Mistakes to Avoid
- Skipping Safety Gear
Always wear gloves, goggles, and a respirator to avoid exposure to harmful chemicals. - Applying Too Little Stripper
Insufficient application can lead to patchy removal and wasted effort. Apply generously for consistent results. - Rushing the Process
Allow the stripper adequate time to work for effective paint removal. - Neglecting Cleanup
Leftover stripper residues can interfere with future finishes. Always clean surfaces thoroughly after stripping.
Careless paint stripping can lead to irreversible damage to the surface. Using the wrong type of stripper, such as a caustic solution on delicate wood, can cause discoloration or warping.
Leaving the stripper on too long may weaken or etch materials like metal or stone. Aggressive scraping with improper tools can scratch or gouge surfaces, ruining their finish.
Failure to test in an inconspicuous area can result in unexpected reactions, such as dissolving adhesives or coatings meant to stay intact.
Additionally, neglecting to clean or neutralize residues can compromise future paint adhesion, leading to peeling or uneven finishes.
The Bottom Line
Using paint strippers safely and effectively requires careful preparation, the right tools, and adherence to safety guidelines. Whether working on metal, wood, or other surfaces, following these steps ensures successful paint removal without compromising surface integrity or personal safety.
Always prioritize safety, choose the appropriate type of stripper for your project, and follow the manufacturer’s instructions for the best results. With proper use, paint strippers can transform old surfaces into a clean slate for your next creative endeavor.
FAQ’s
1. Can I use paint strippers indoors?
Yes, but ensure the area is well-ventilated. Use fans, open windows, and wear a respirator to protect against fumes.
2. How do I know which paint stripper to use?
Choose based on your surface and paint type. Solvent-based strippers work well for tough coatings, while eco-friendly options are safer for delicate surfaces and the environment.
3. Do I need to neutralize the surface after stripping?
Some paint strippers, especially caustic ones, require neutralizing with water or a specific agent. Check the product instructions for details.
4. Can paint strippers damage the surface?
Improper use, such as leaving the stripper on too long or using the wrong type, can damage wood or sensitive materials. Always test in a small area first.
5. What should I do with leftover paint stripper?
Dispose of it according to local hazardous waste guidelines, as many strippers contain chemicals that can harm the environment.


